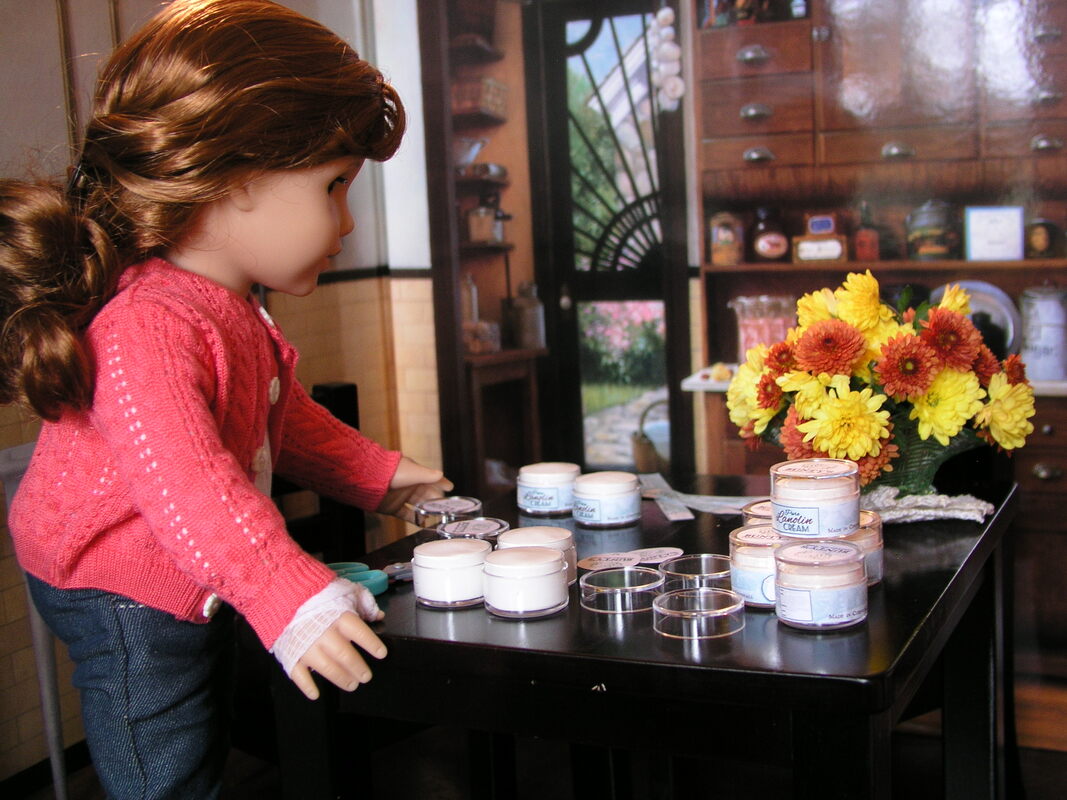
With the fiber all bagged up and a busy week ahead of us, we thought it was time for an easier day. The boys got the day off (to do whatever boys do in their spare time), and I spent yesterday packaging my Lanolin Cream for the show. So, today I'm going to show you how to make your own jar of Lanolin Cream. You don't need many supplies, and it's pretty quick and easy.
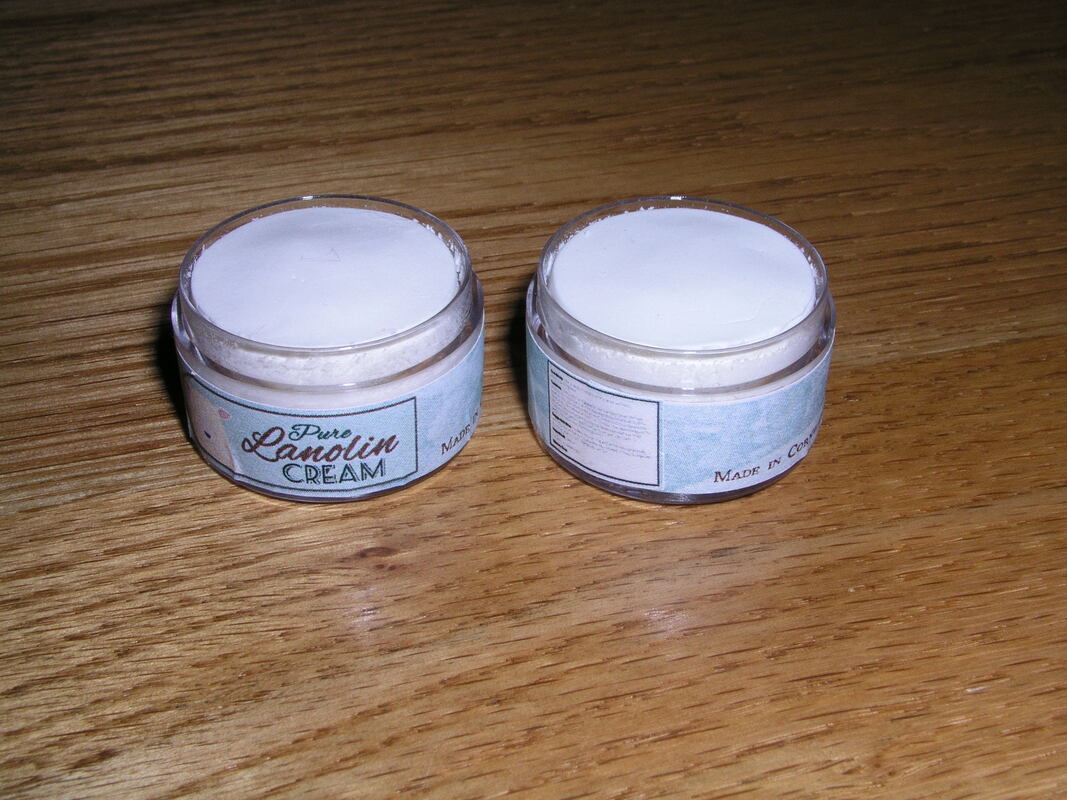
Lanolin is the natural wax from a sheep's skin that coats its wool (also called "wool grease"), and it's used in a variety of skin care products and lotions. My lanolin came from some of Berengaria's wool. I didn't make it myself, but I gave the wool to Amabel over at The Mango Tree (Islandshire's health food shop), and she boiled it and made the Lanolin Cream for me. All I had to do was to print some labels and seal up the jars. This is pure Lanolin Cream, which you can apply directly to your skin or use as an ingredient when in your own creams and salves.
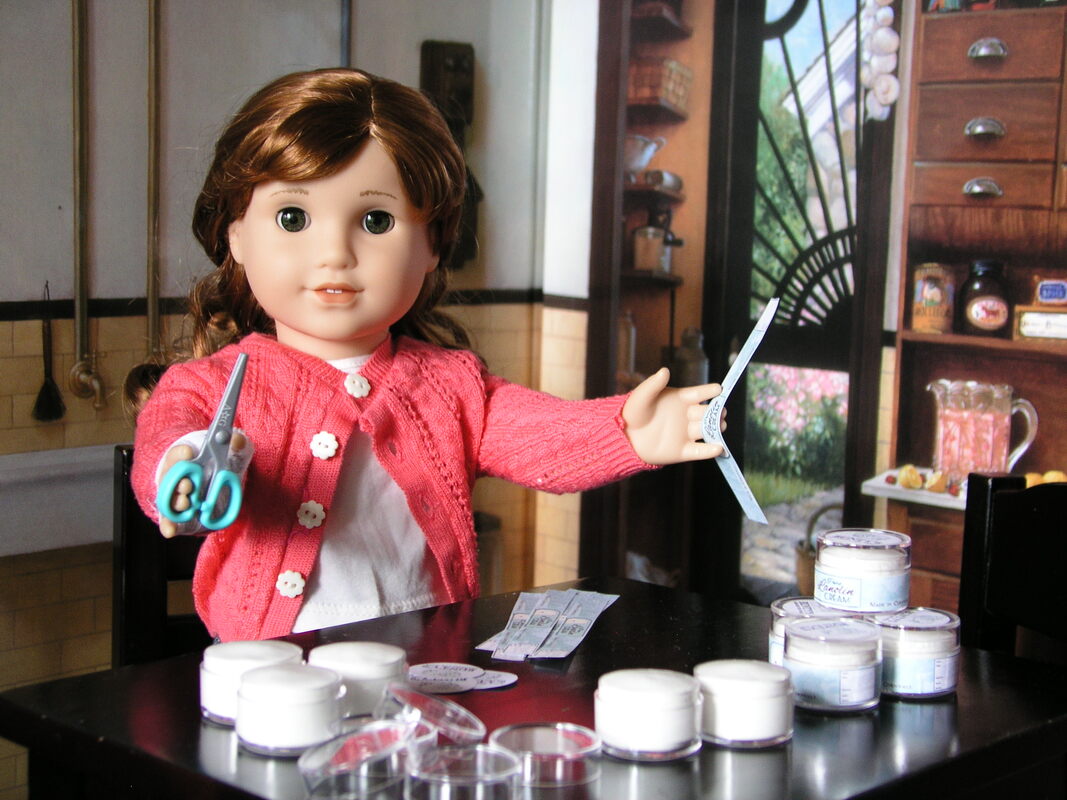
For those of you who are wondering about the bandage on my right hand . . . Well, it was a good thing that there wasn't quite so much to do yesterday (and part of what prompted us to take it easy). After all the cutting and folding the day before, my thumb was sprained and very numb. I bandaged it all up, but cutting out all the lanolin labels was more than I should have done. Seemed like a good time to take a short break and let some blood rush back into my fingers. No doughnuts, though, because the boys found the box this morning . . .
For those of you who are wondering about the bandage on my right hand . . . Well, it was a good thing that there wasn't quite so much to do yesterday (and part of what prompted us to take it easy). After all the cutting and folding the day before, my thumb was sprained and very numb. I bandaged it all up, but cutting out all the lanolin labels was more than I should have done. Seemed like a good time to take a short break and let some blood rush back into my fingers. No doughnuts, though, because the boys found the box this morning . . .

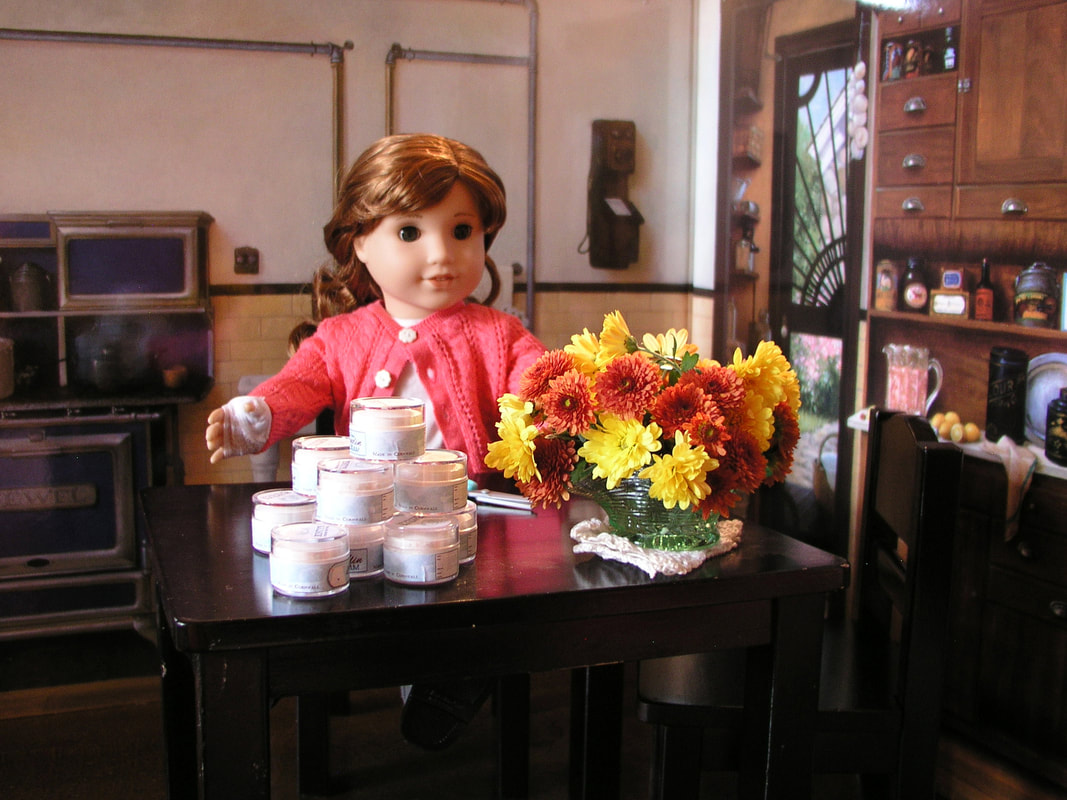
When I came back into the kitchen a few minutes later, what a wonderful surprise met me! Mabel and Toni had popped in and brought a beautiful basket of flowers. Harold told them how hard we'd been working, so they thought they'd brighten the kitchen a bit for me. And I do so miss my garden right now!
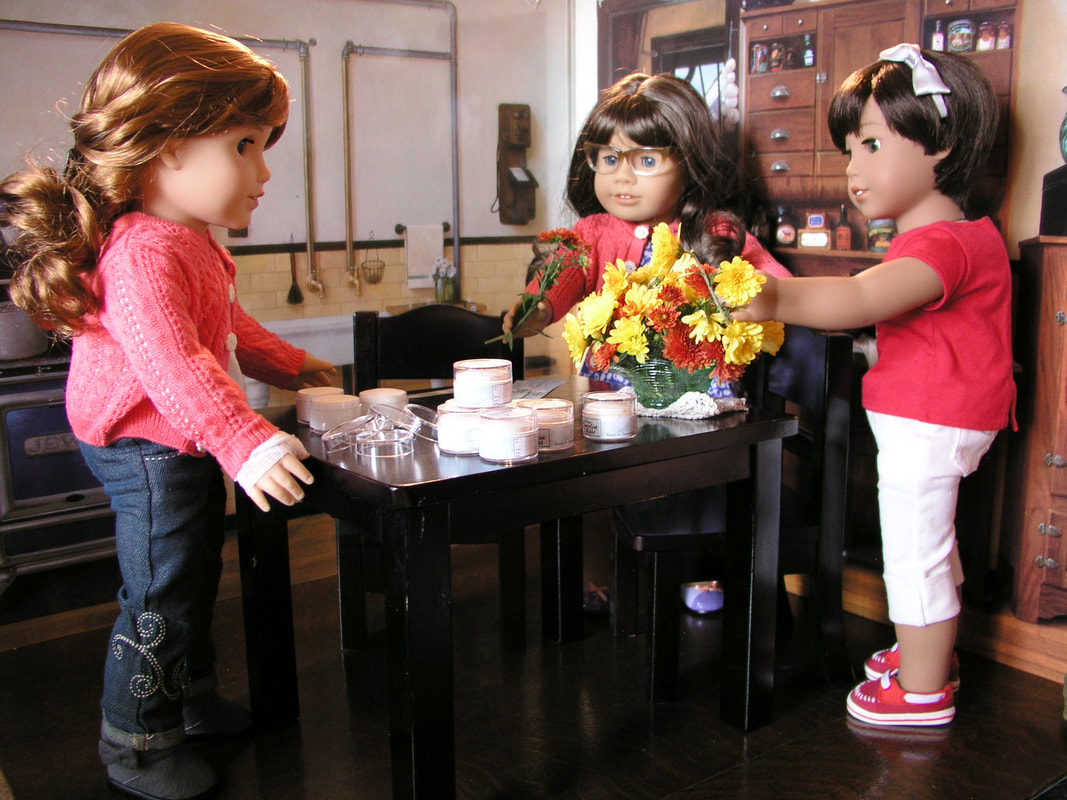
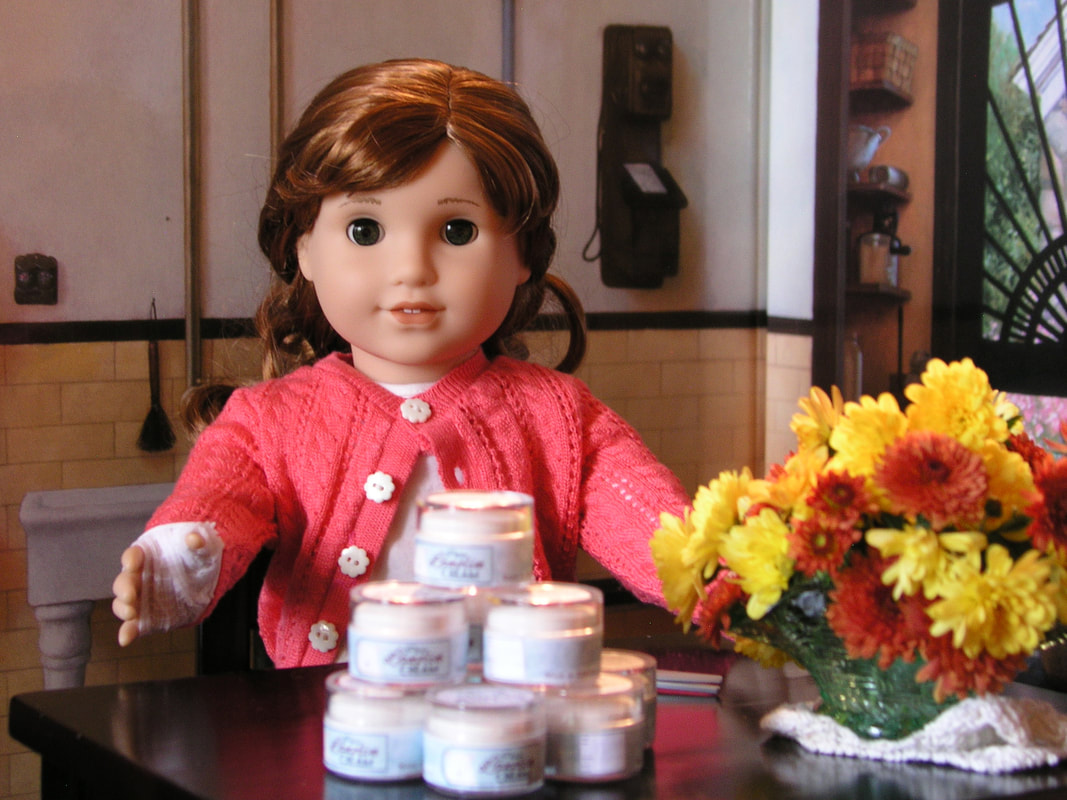
This was the first time that I'd met Mabel Irene, our newest arrival to Islandshire! Toni was taking her around to meet everyone and get acquainted with the area. She's very friendly and loves to sew . . . I wonder if she likes to work with wool?

After we finished our quick visit, it was back to work for me! Time to glue the labels onto the jars . . .
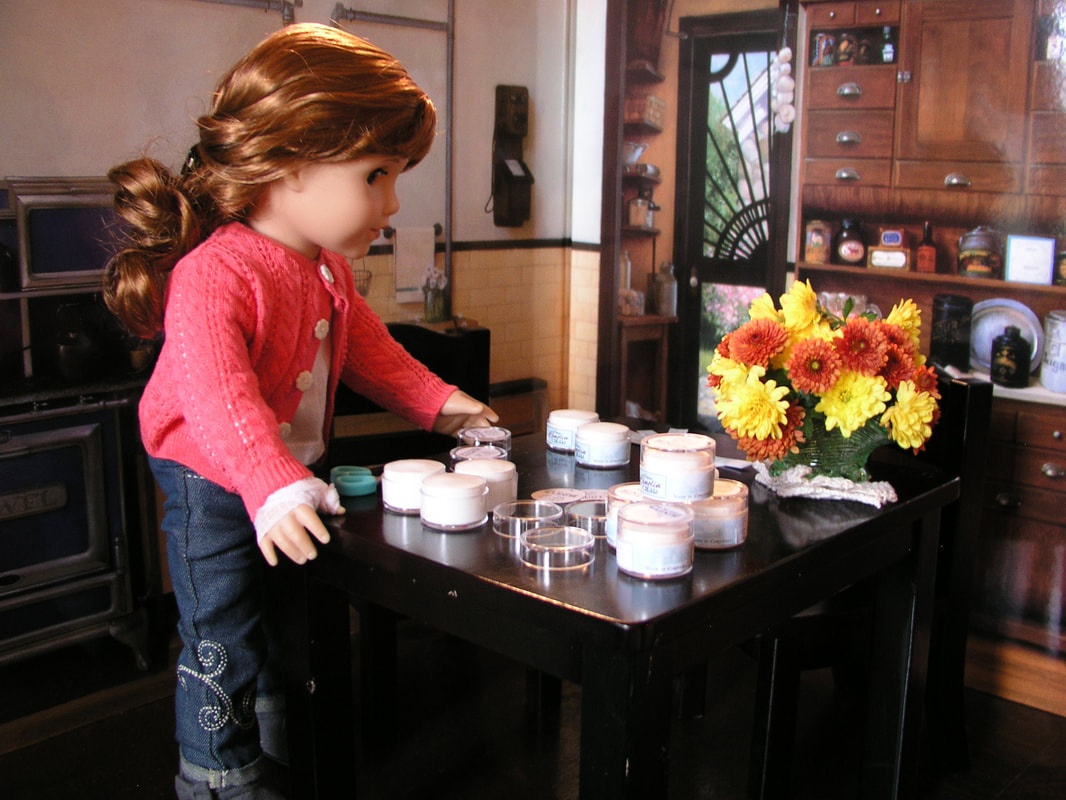
Once the jars were all finished and stacked, it was nice to take a deep breath and enjoy the beautiful flowers.
Now I'll show you how to make your own jars of Lanolin Cream . . .
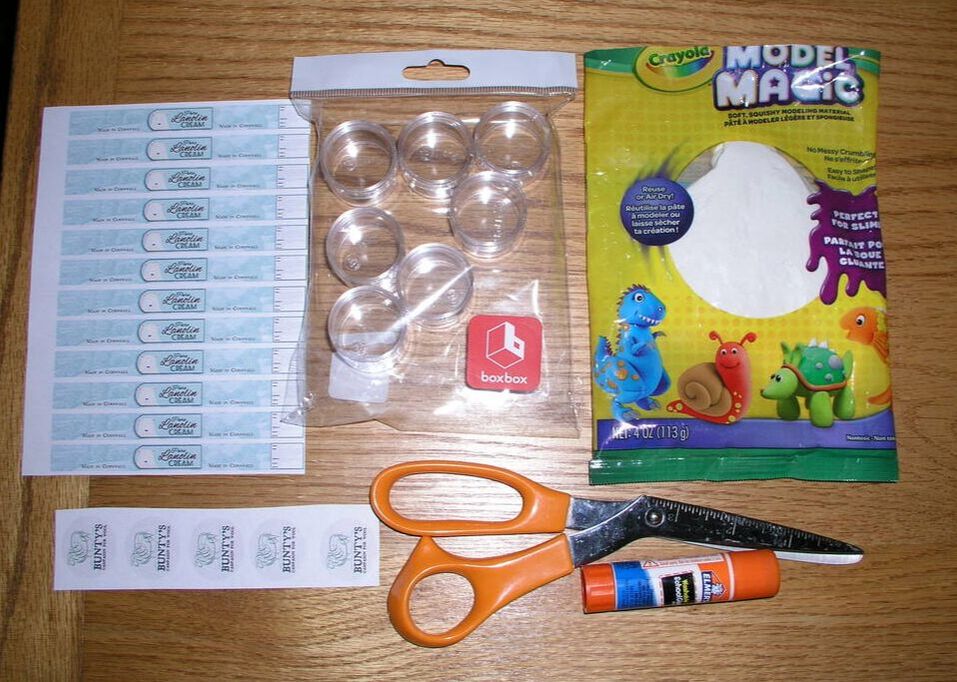
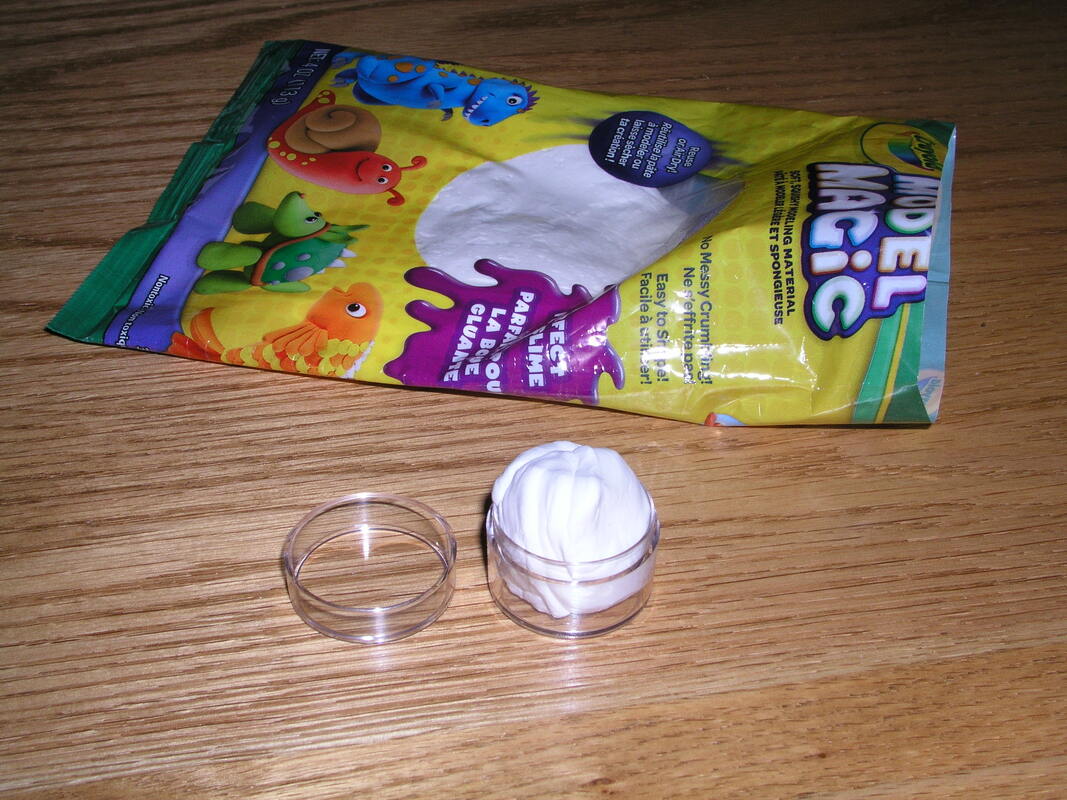
First, you'll need a few supplies. Scissors, glue stick, printables (keep reading to download those), white Crayola "Magic Model" clay, and some small plastic boxes for the jars.
First, you'll need a few supplies. Scissors, glue stick, printables (keep reading to download those), white Crayola "Magic Model" clay, and some small plastic boxes for the jars.
- The "Magic Model" clay should be easy to find -- I actually got mine in the Back-to-School aisle at the grocery store.
- The small round containers that I used came from The Container Store in a pack of twelve for $2.29. You can get them in colours or clear: https://www.containerstore.com/s/gift-packaging/gift-boxes/mini-round-boxes/12d?productId=10032165
To print your own labels and stickers for the jars (these are sized for the containers found at the link above), simply download this image and follow the printing instructions below.
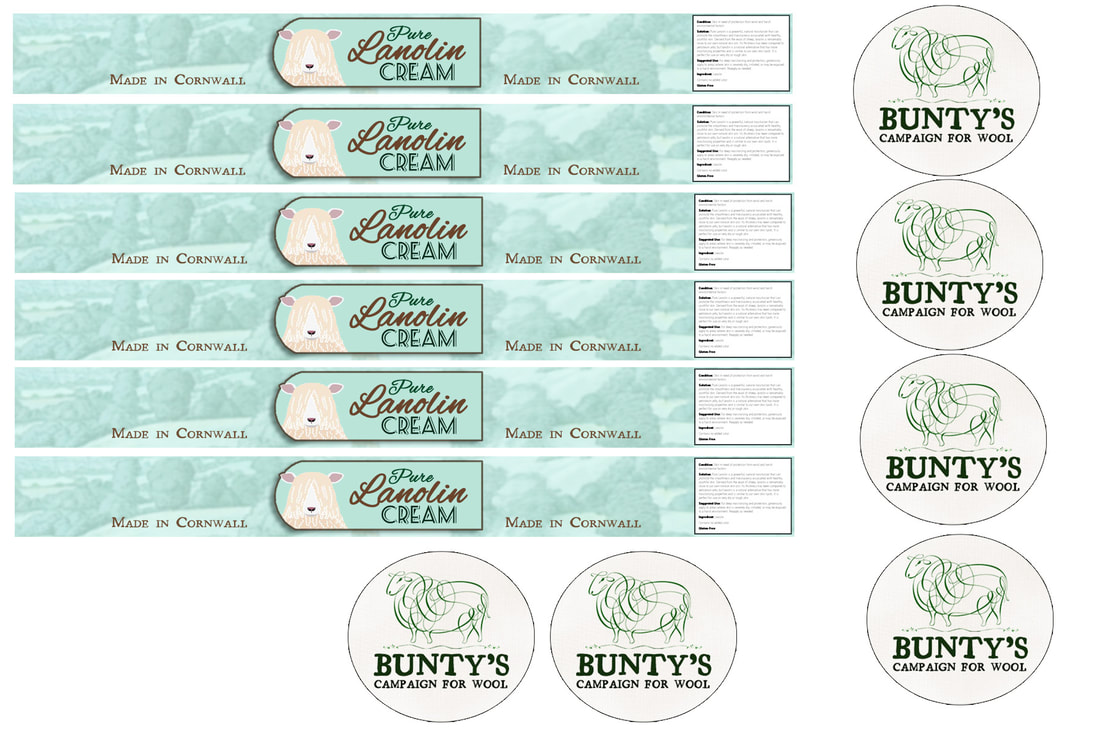
Once you've downloaded the image above, open it in Windows Explorer and press Ctrl+P. Print this on normal paper (photo paper will be too thick to glue onto the container) at 4x6" size. Be sure that the "Fit Picture to Frame" box is NOT checked.
I've made this printable with six labels and matching stickers, because you may want to make more than one jar -- plus it gives room to make some mistakes! (Don't worry, because I ruined three labels before figuring out how I was going to do this.)
Once your papers are printed and dry, go ahead and cut the labels and stickers out without leaving white rims along any edges. (Do not cut so many at once that you sprain your thumb!)
Now you're ready to fill your jar. Take a small amount of the white clay and roll it in your hands a couple of times to make it soft and squishy (this doesn't take much more than a couple quick rolls).
Start pushing the clay down into the container. This can take a little while, because you don't want any air pockets, bubbles or wrinkles to show on the bottom, sides or top. Try to make the top look a little "lumpy" like a jar of cream. When you've got the clay in the jar, it should look something like these:
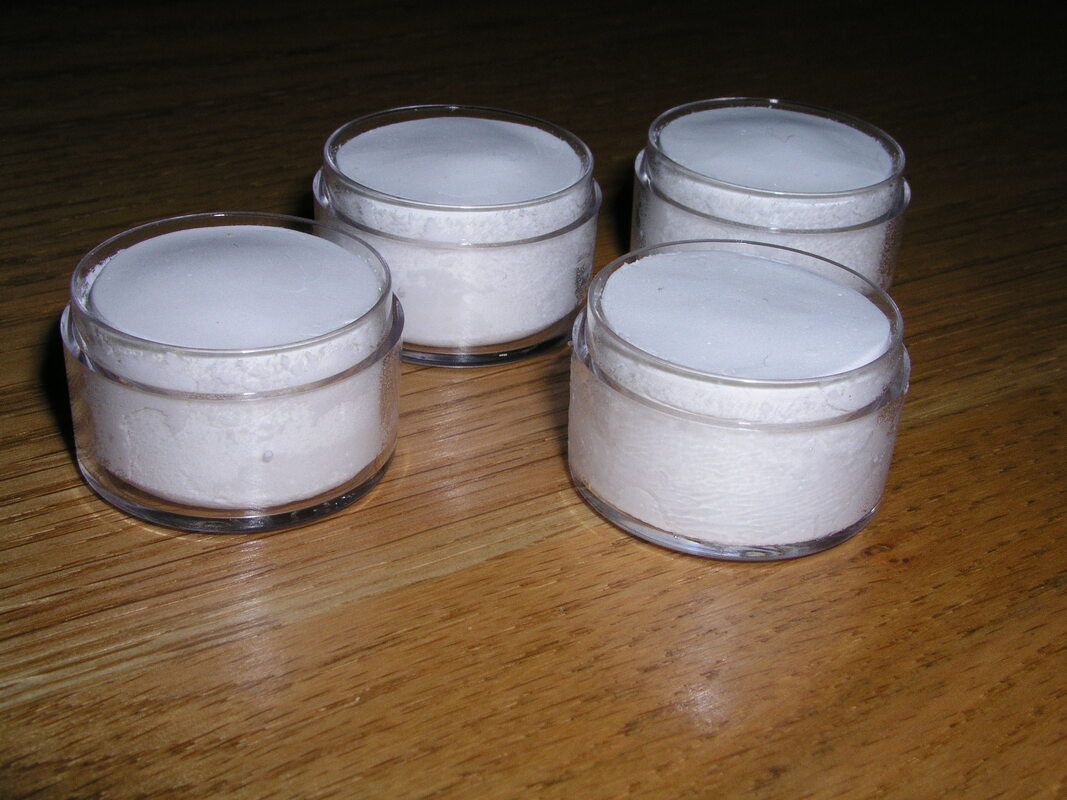
This is air-drying clay, and it took about four or five days for mine to dry. You can wait to put the labels on until after your clay has dried, or you can do it all at once. You'll need to leave the container sitting open to dry, so don't put the lid on right away.
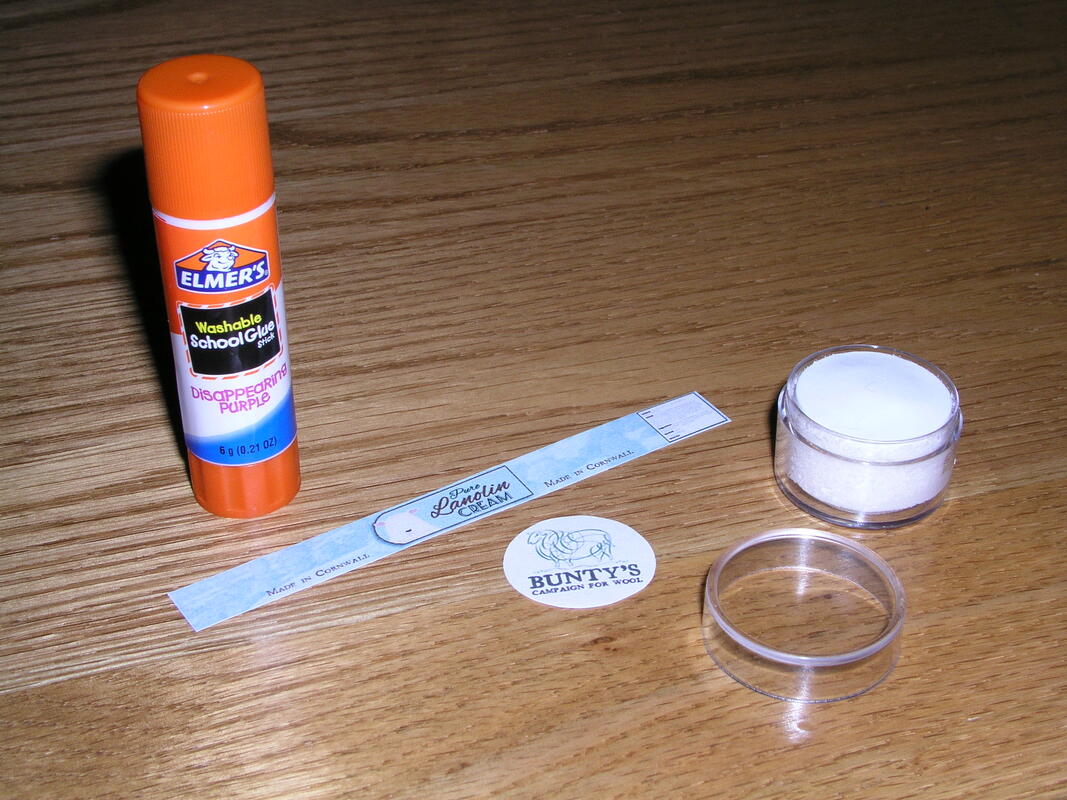
After your clay has dried, It's time to get your glue stick and the labels and stickers. (I tried this with liquid Elmer's School Glue, and it just slid all over the container and soaked the label -- Elmer's glue stick definitely worked a lot better!) Glue the back of the long label with a thick coating of glue all the way to the edges.
After your clay has dried, It's time to get your glue stick and the labels and stickers. (I tried this with liquid Elmer's School Glue, and it just slid all over the container and soaked the label -- Elmer's glue stick definitely worked a lot better!) Glue the back of the long label with a thick coating of glue all the way to the edges.
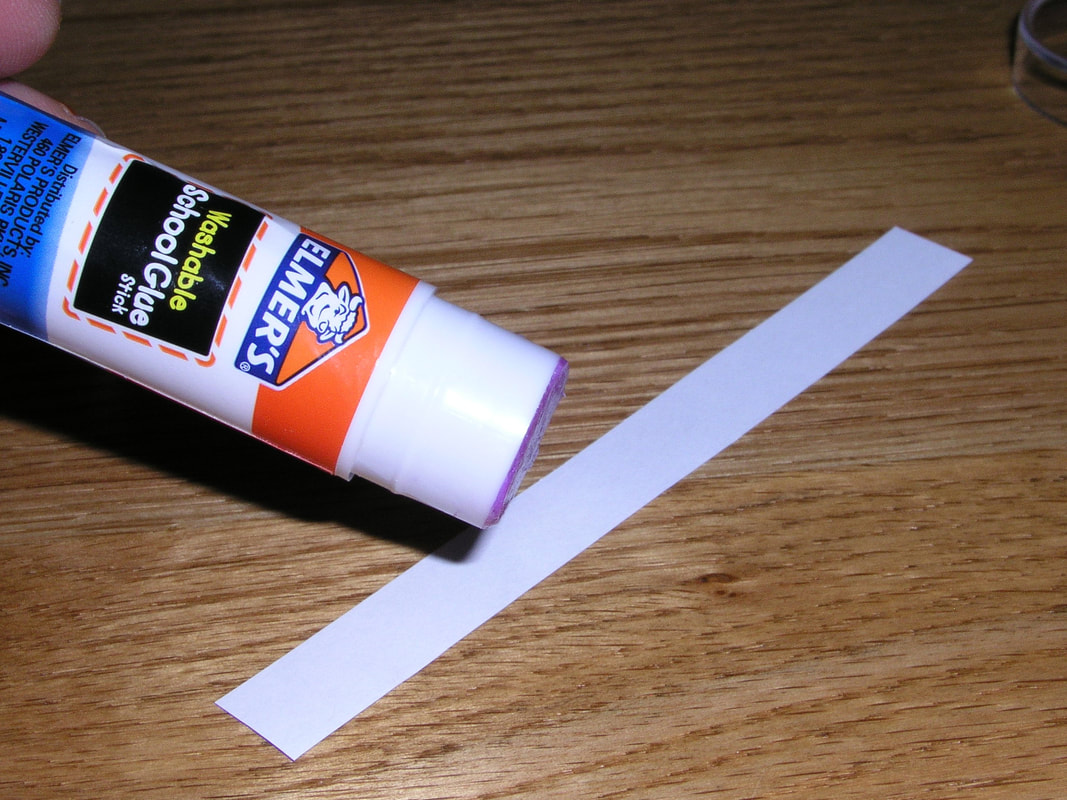
I found that these particular plastic containers are not exactly round, so you will usually have a small wrinkle or two in order to get the label to meet up in a straight line at the back. Just make sure the wrinkles are on the sides of the jar and not on the very front where it would be noticeable. The labels will dry in place pretty quickly.
Do the same thing with the small round stickers for the top of the lids. Glue the back all over with your glue stick and center them on the lid. Your pieces should now look like this.
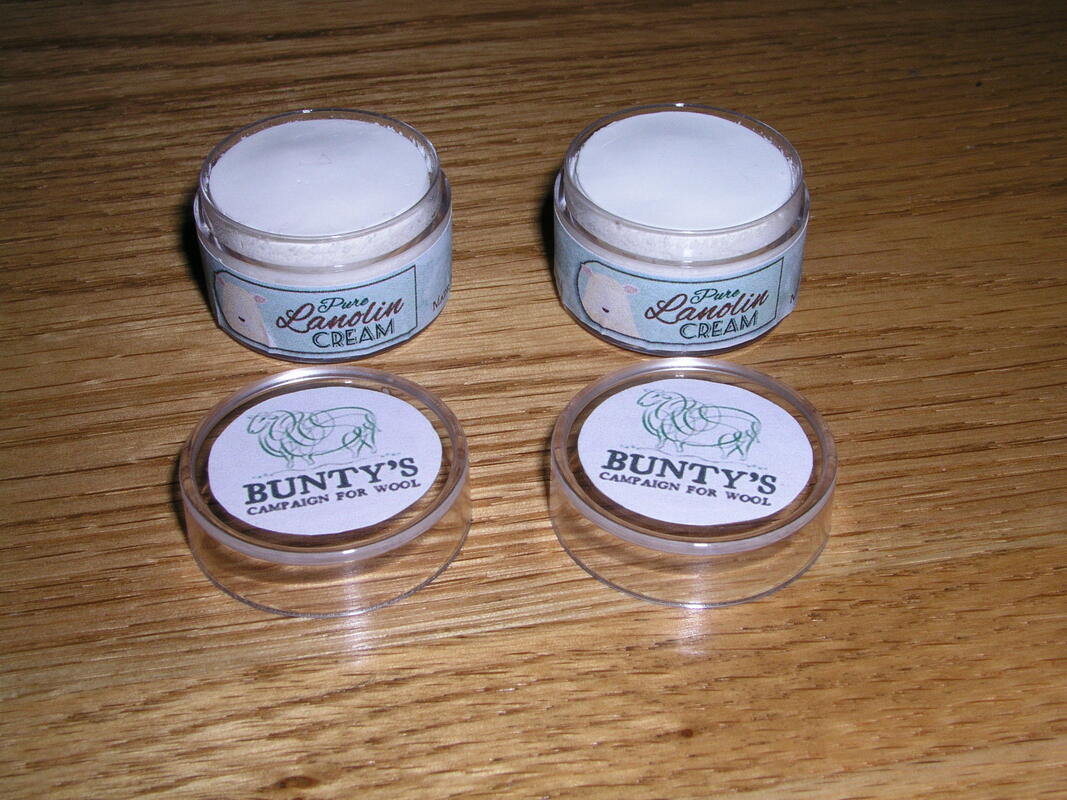
If your clay is still drying, just set these pieces aside (lids off the containers) for a few days until the clay is totally dry. If you've already done that, it's time to cap up your containers. Congratulations, you've got your very own doll-sized Lanolin Cream!

See you tomorrow with more Wool Show preparations and fun!
 RSS Feed